Single Flank Test and Noise Measurement
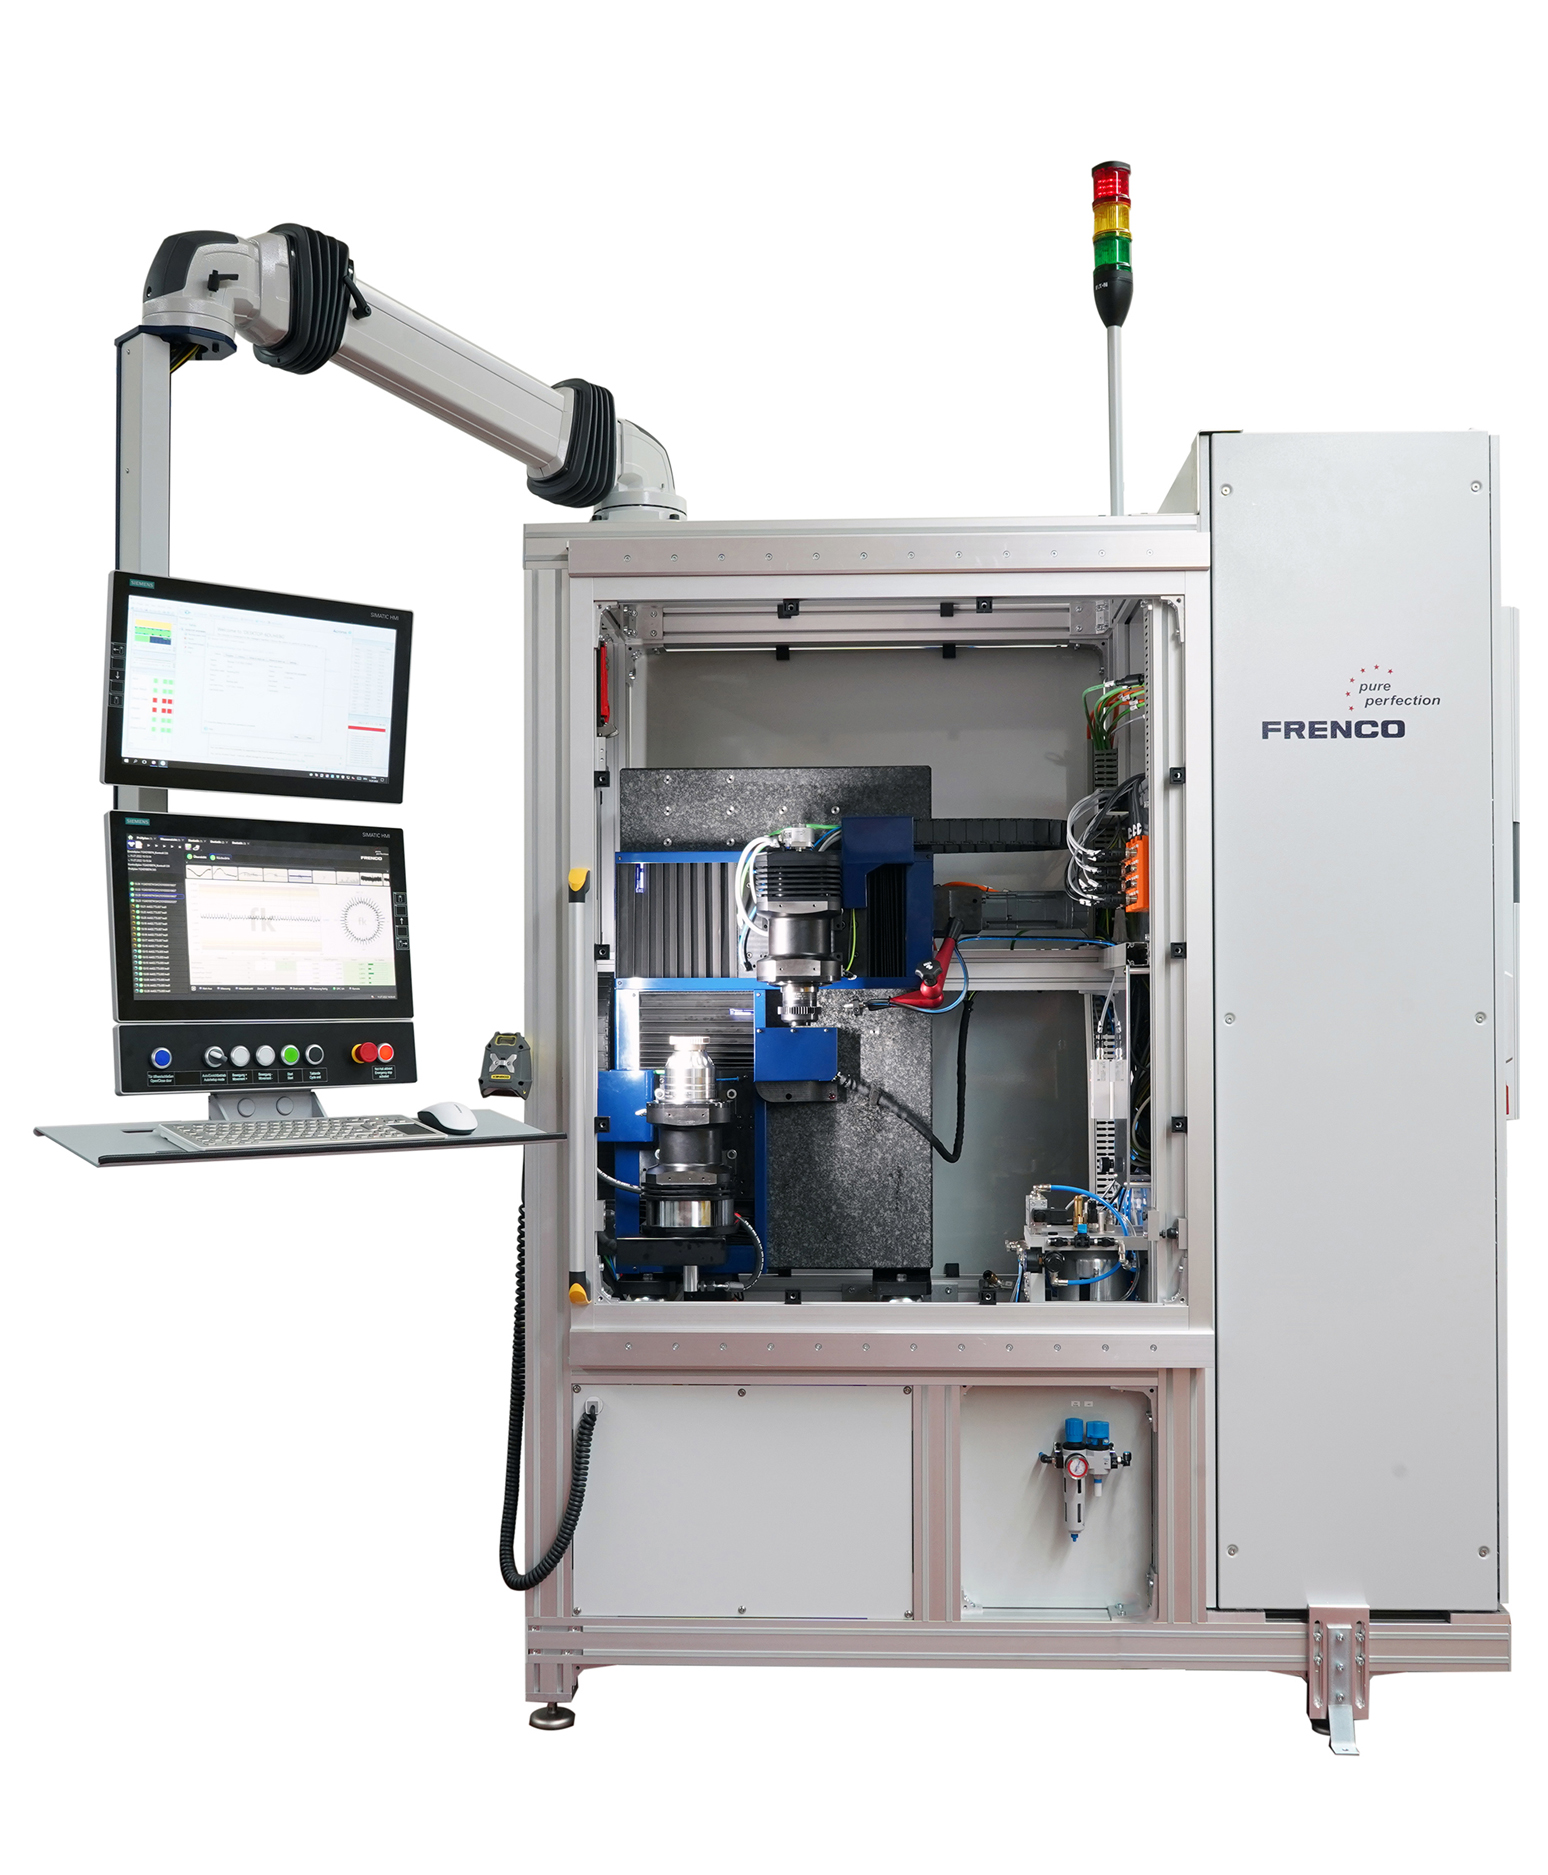
 FRENCO has developed a measurement device for gears that combines noise test and single flank inspection with short cycle times.
Especially due to electric mobility there is a growing demand for high-quality gearing with low noise generation.
The high degree of integration of components into modern motor vehicle electric drives, however, requires a re-evaluation of the production sequence, particularly with regard to their efficiency. Important functions of highly integrated electric drive units can often only be tested once the assembly of the electric motor and the transmission is complete. The result: The only way to avoid higher costs due to entire systems failing at the end of the value chain is to use better-quality gears right from the start. A 100% inspection of the components is advisable to guarantee this low error rate.
FRENCO has consequently developed a measurement device that combines a high added value with very short cycle times. A new system is created through the combination of single flank inspection for dimensional deviations such as radial run-out and tooth thickness and concurrently recording the acceleration. This makes it possible to evaluate the noise generation of the individual components and thus enables reliable monitoring of production deviations at an early stage.
The new system records approximately ten revolutions of the gear; it only takes two seconds per rotational direction. This along with the handling of the parts makes a cycle time of 15 seconds possible, together with very high data volumes. Important: The higher stresses do not have a negative influence on the quality of the measurements. Placing the system on a hard stone plate ensures the required precision. NC axes for the centre distance and the vertical position are just as much mandatory as is the fully automatic inspection process and the connection to a loading system.
An uncomplicated loading set-up is also of decisive importance for an easy integration and high speed. To help this the spindles are configured vertically, which allows an optimum mounting of the gears onto the inspection device. Considering the performance and scope of the measuring machine, the footprint of less than 2 x 1 metres is very compact.
To process the recorded measurement values, two computers are integrated into FRENCO’s measuring machine. One to process the single flank gear inspection, another one to analyze noise measurement. For recognition of noise critical elements a DISCOM system is used, this softare is an integral part of FRENCO’s offer. Access to the extensive database and the high level of detail of the individual items of information allow precise conclusions to be drawn on the error cause of the workpieces and the manufacturing process can be modified accordingly.
 Deutsch
 English